While it’s good to account for every business expense you have, it’s not always so easy when you are traveling or away from your office. Wouldn’t it be easier to Track Expenses on Mobile Devices?
Due’s mobile-friendly web app offers a way to not only manage invoices and payments, but it also helps you immediately account for any expense so you’re always up to date.
This Due expense tutorial is designed to show you how to track all your expenses through your mobile device.
Table of Contents
ToggleSign-in
First, sign-in to your Due account in your mobile web browser to access the main menu. From here, you’ll be able to select “Expenses” from the drop-down menu.
Expense Menu
Once you select “Expenses,” you’ll see a screen that will show you all your expenses. This is where you can enter new expenses and view existing expenses.
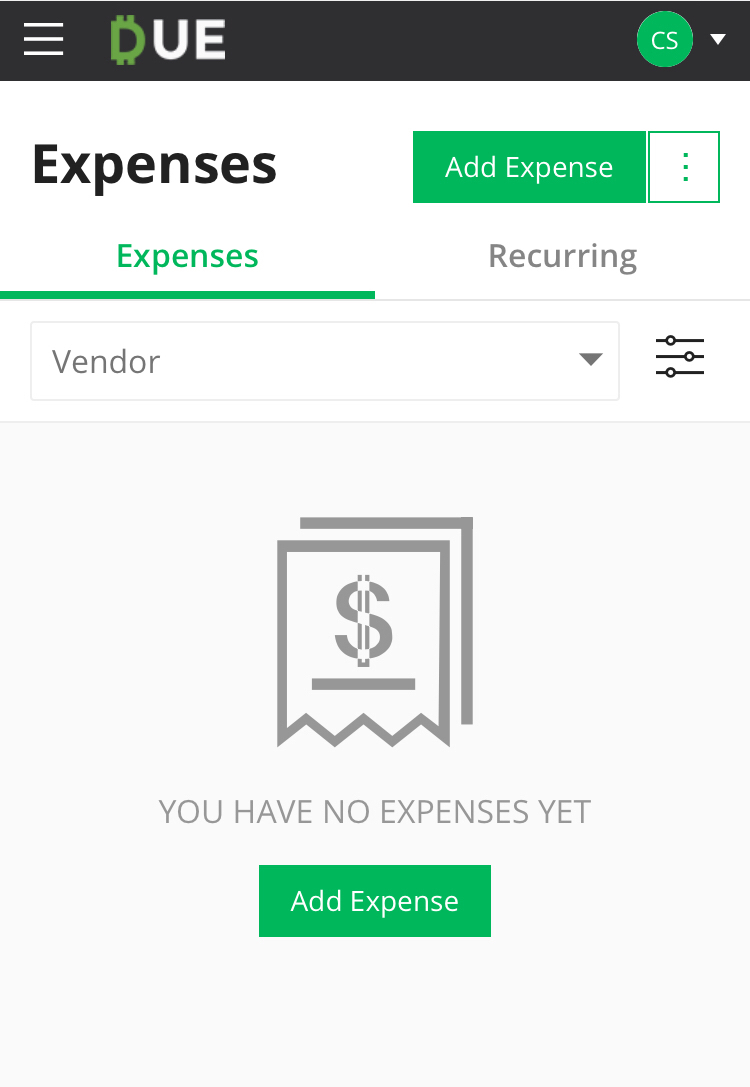
Now, it’s time to create your first expense. Select the button that says, “Add Expense.” This takes you to another screen where you can start filling in information about that expense.
Expense Information
To create the new expense, type in all the information you are prompted for on the form.
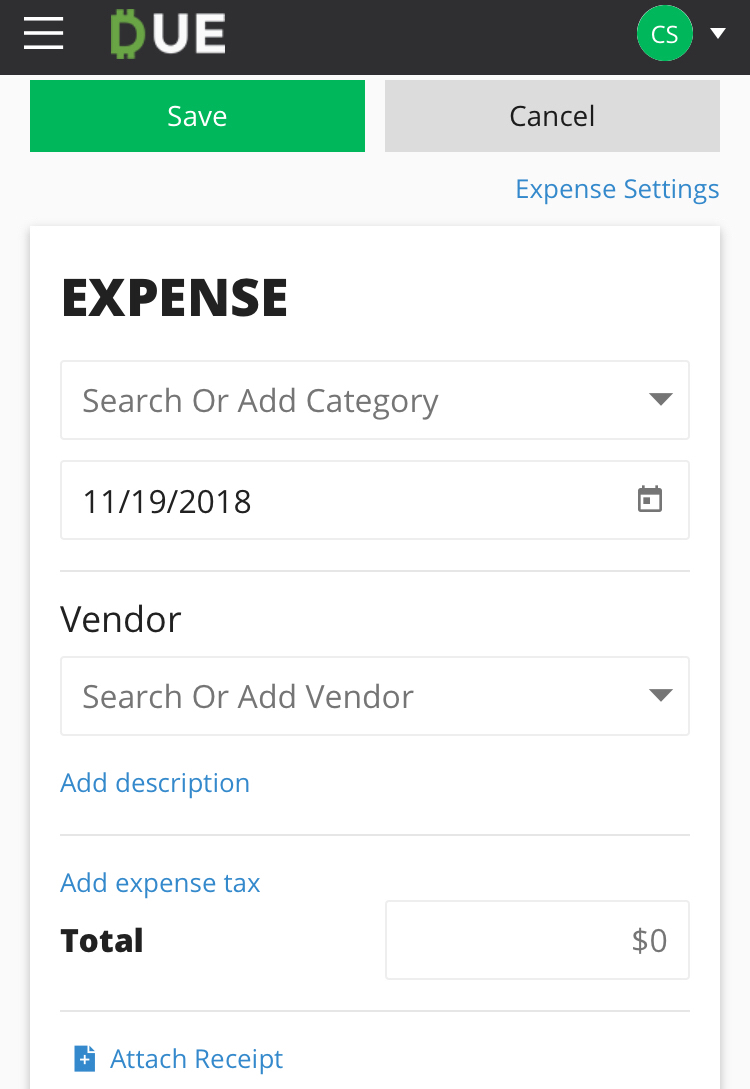
First, search for a category. Add a category if you can’t find the one you need. Put the expense date next. After that, search or add a vendor related to that expense. Finally, put in what the expense is for. There is also a place to add a tax amount if that’s applicable.
Receipts
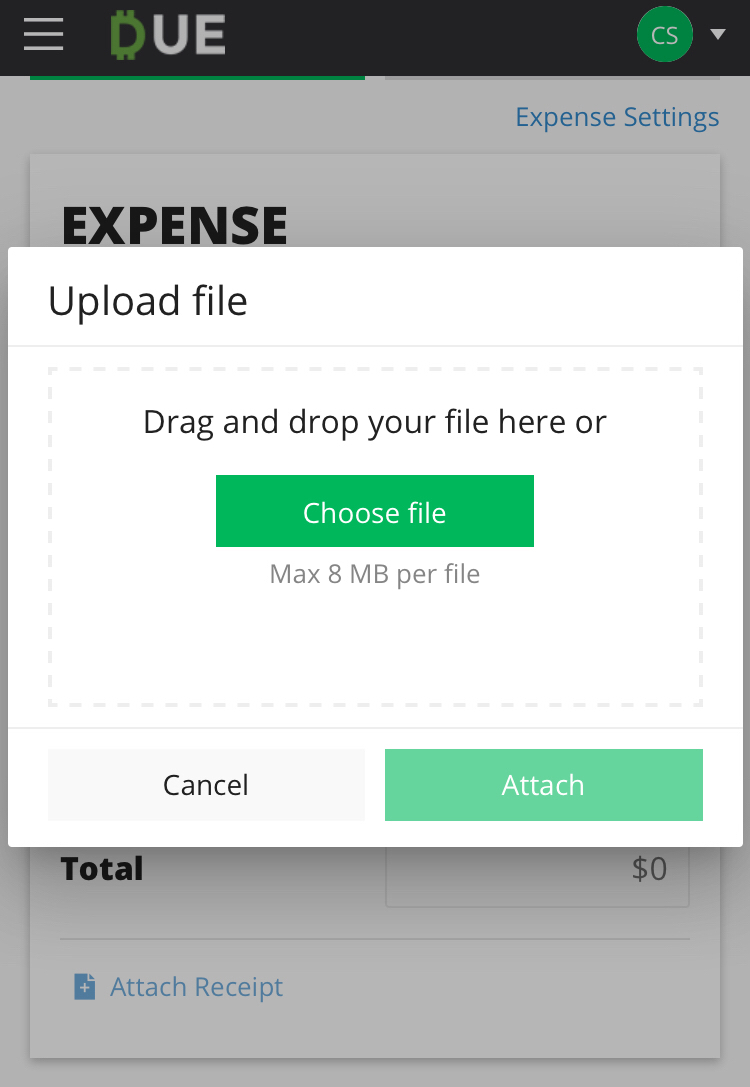
After that, you can enter the total and attach a copy of the receipt for that expense. From your mobile device, you can take a photo and attach it to your expense right away.
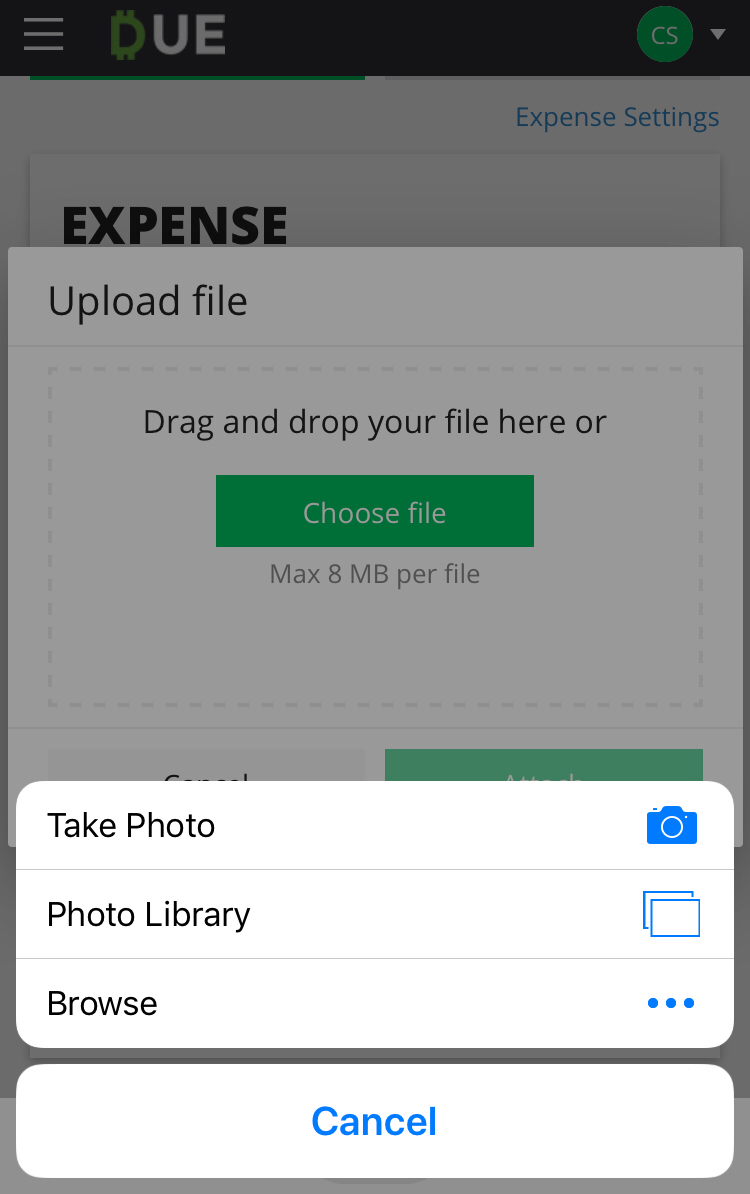
This makes it easy to stay on top of receipts when you are on the road.
Save Expense Information
When you are done entering all the expense information, just click “Save” and you’re done. As a cloud-based system, you can access all your expense information from any desktop or mobile web browser.

