It’s now possible to import your clients from other files into Due so you can easily access information for invoicing and expense reports.
This tutorial will give you step-by-step instructions on how to easily import all your clients.
Due Account and Client Menu
Your first step is to open your Due account and sign-in.
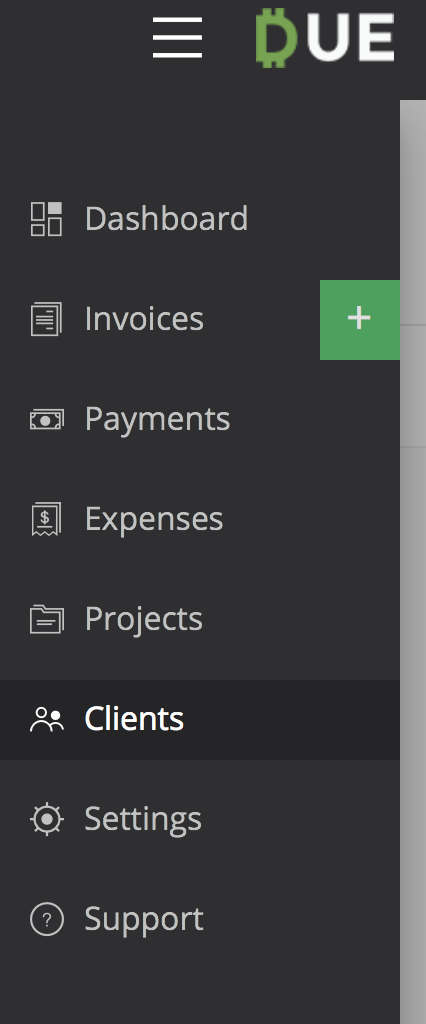
From there, select the main menu on the left side of the screen. Under that menu, choose “Clients.”

A new page will appear after you select “Clients” that shows a list of “Invoices” or “E-commerce” customers.
Import Clients
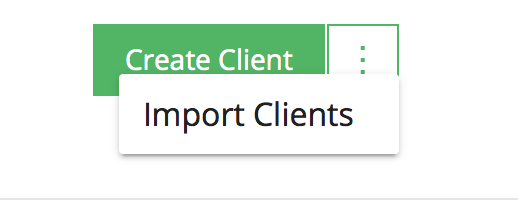
At the top right side of this page, there is a green button that says “Create Clients.” Next to it are three dots. When you click on these dots, a drop-down menu appears that says “Import Clients.”

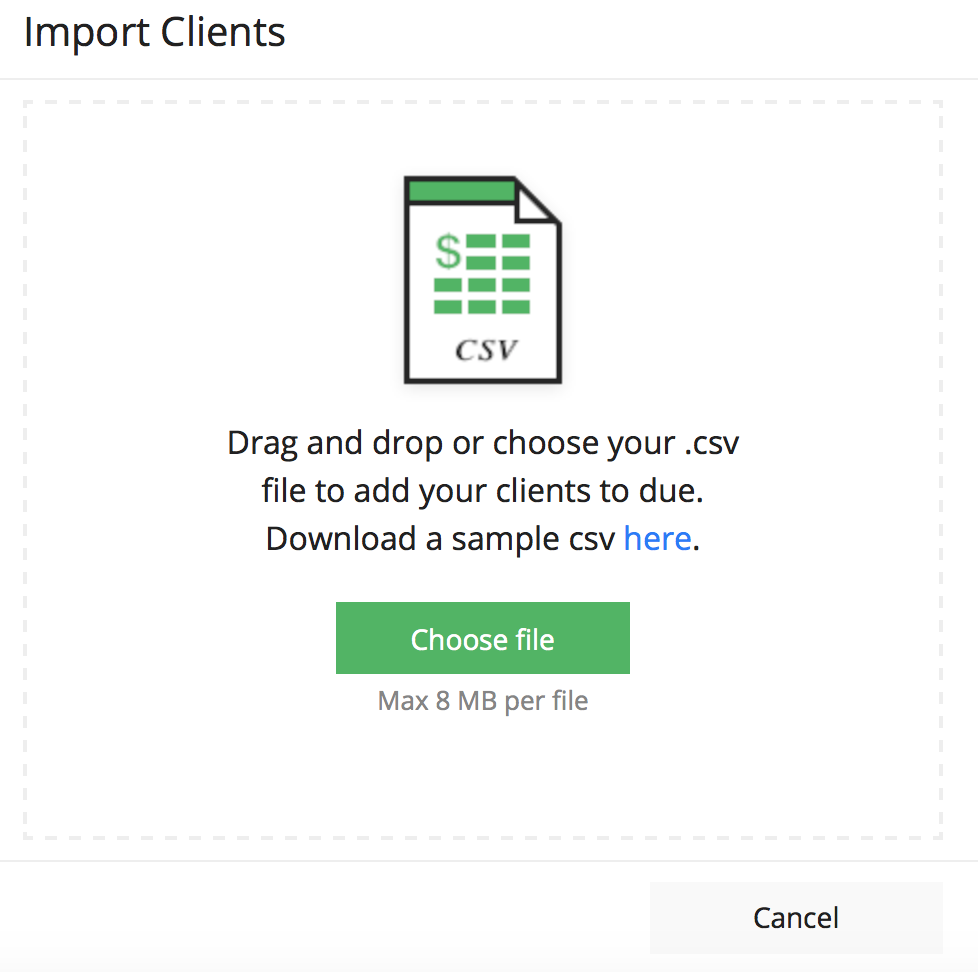
When you select “Import Clients,” a pop-up menu will appear. Here, you have the option to drag and drop or choose your CSV file so that you can add all of your clients to your Due account. The file size can be no bigger than 8 MB.

The pop-up screen also gives you the option to download a sample CSV file so you can see what these look like before you import your own clients to your Due account.

When you select “Choose File,” you will have another pop-up on your screen that allows you to select a file from your computer.
Once you do that, your client data will start to transfer over to your Due account and you can start accessing that information for invoicing, expenses, and project management.


