Among your business expenses, there may be some that repeat each month for the same amount, such as a vehicle lease payment or office rent. When there are the same expenses each month, it’s nice to save time by having those automatically record in your expense records.
Now, Due offers an expense feature that includes recurring expenses. This Due expense tutorial is designed to show you how to create and enter recurring expenses so you can reduce the amount of time you spend on recording these costs.
Sign-in
First, sign-in to your Due account to access the main menu. From here, you’ll be able to select “Expenses” from the drop-down menu on the left side of your screen.
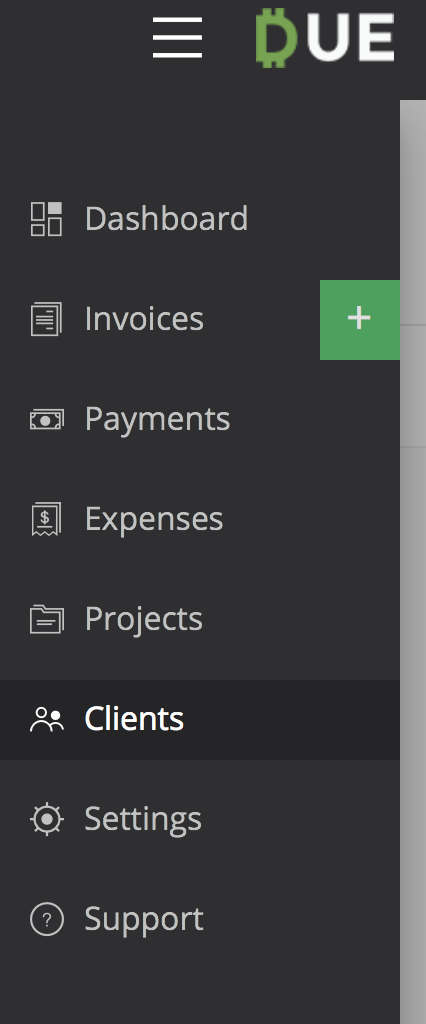
Expense Menu
Once you select “Expenses,” you’ll see a screen that will show you all your expenses. There are Expense and Recurring options to choose from. Select “Recurring.” This screen will also be where you will view the recurring expenses you created.
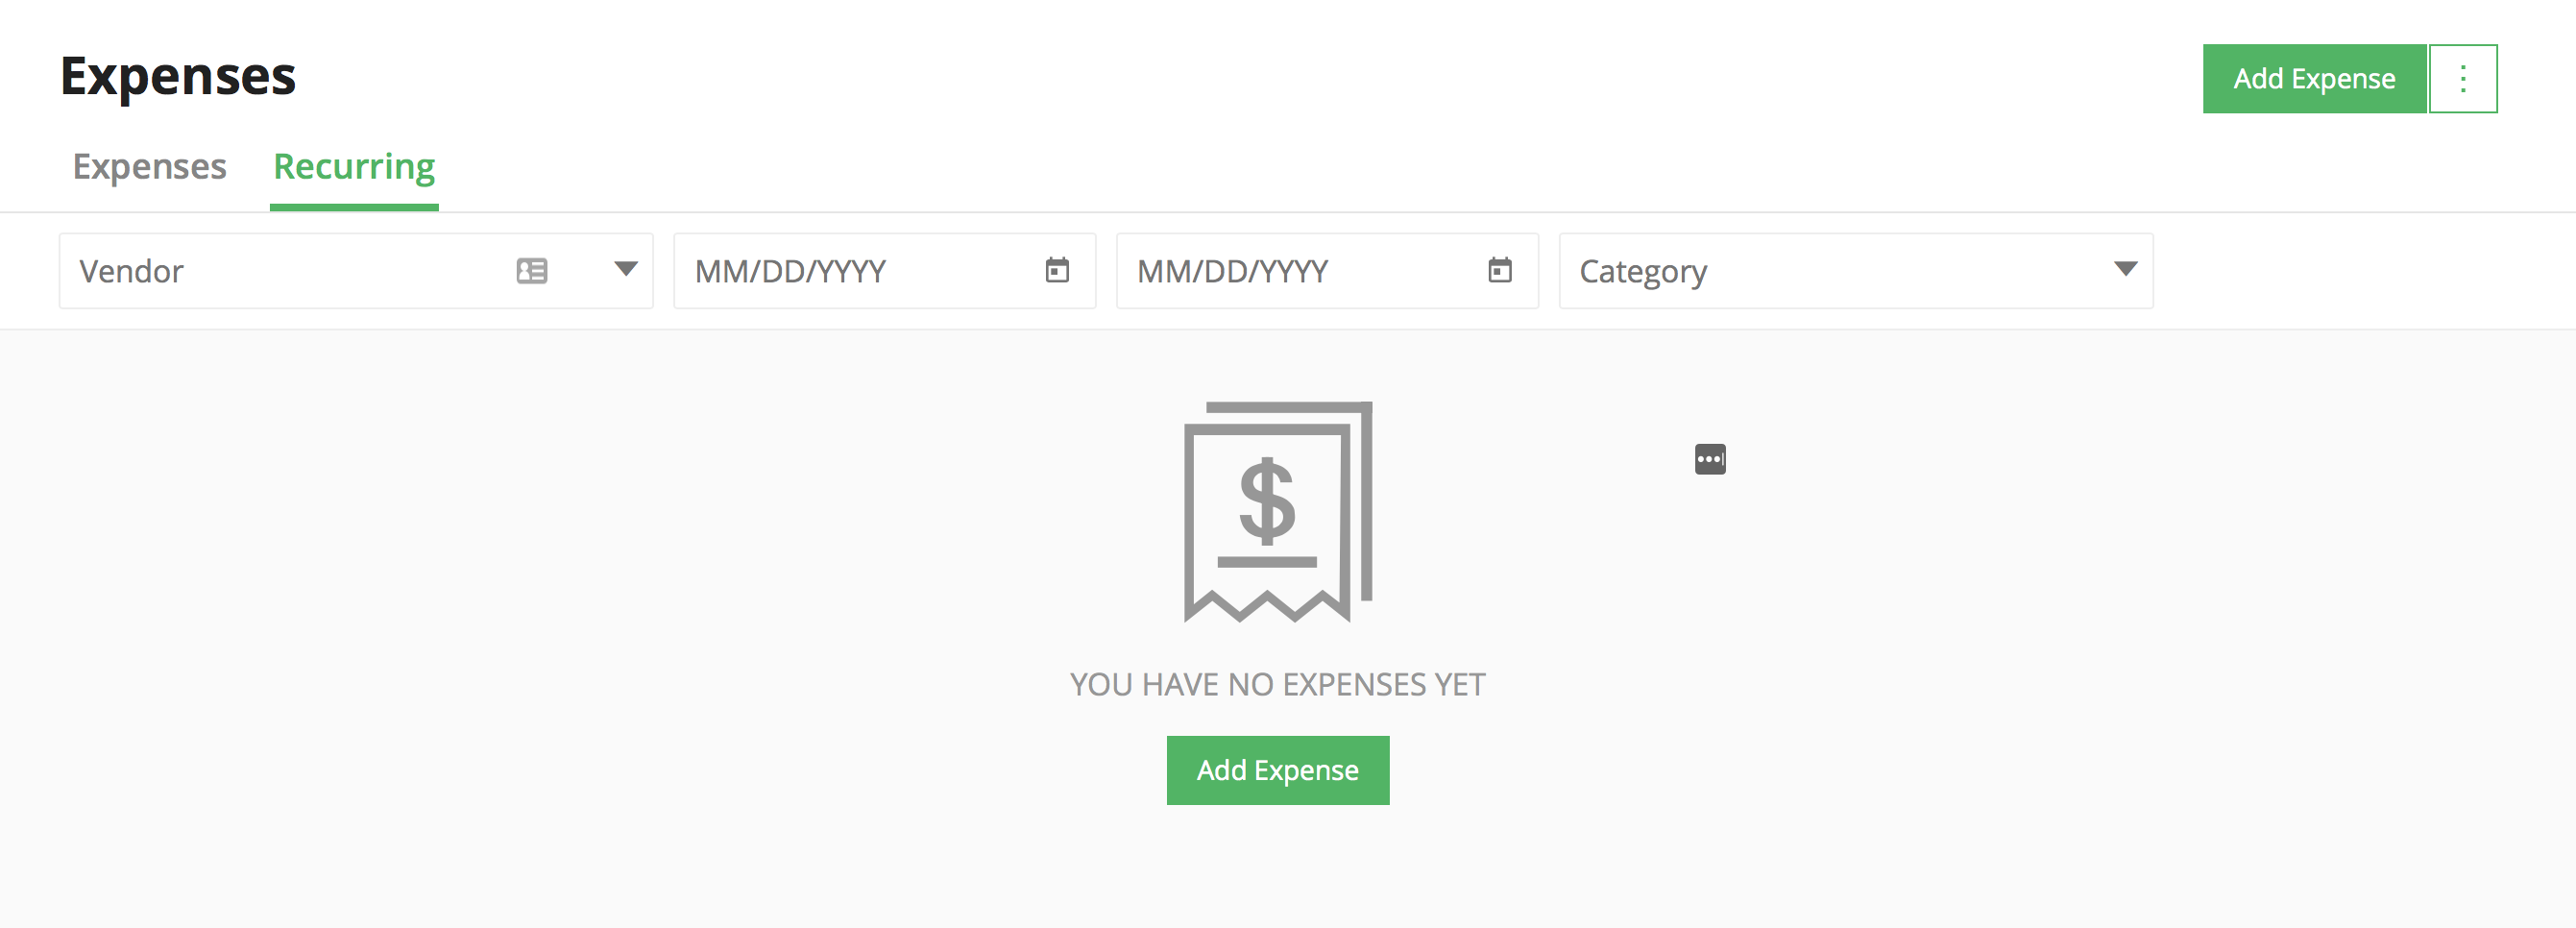
Now, it’s time to create your recurring expense. On the top right side of your screen, there is a green button that says, “Add Expense.” There is also a similar button in the center of your screen. Both take you to the next screen where you can add your first expense. You’ll follow the same steps you took to create any other expense.
Expense Information
To create the new expense, type in all the information you are prompted for on the form.
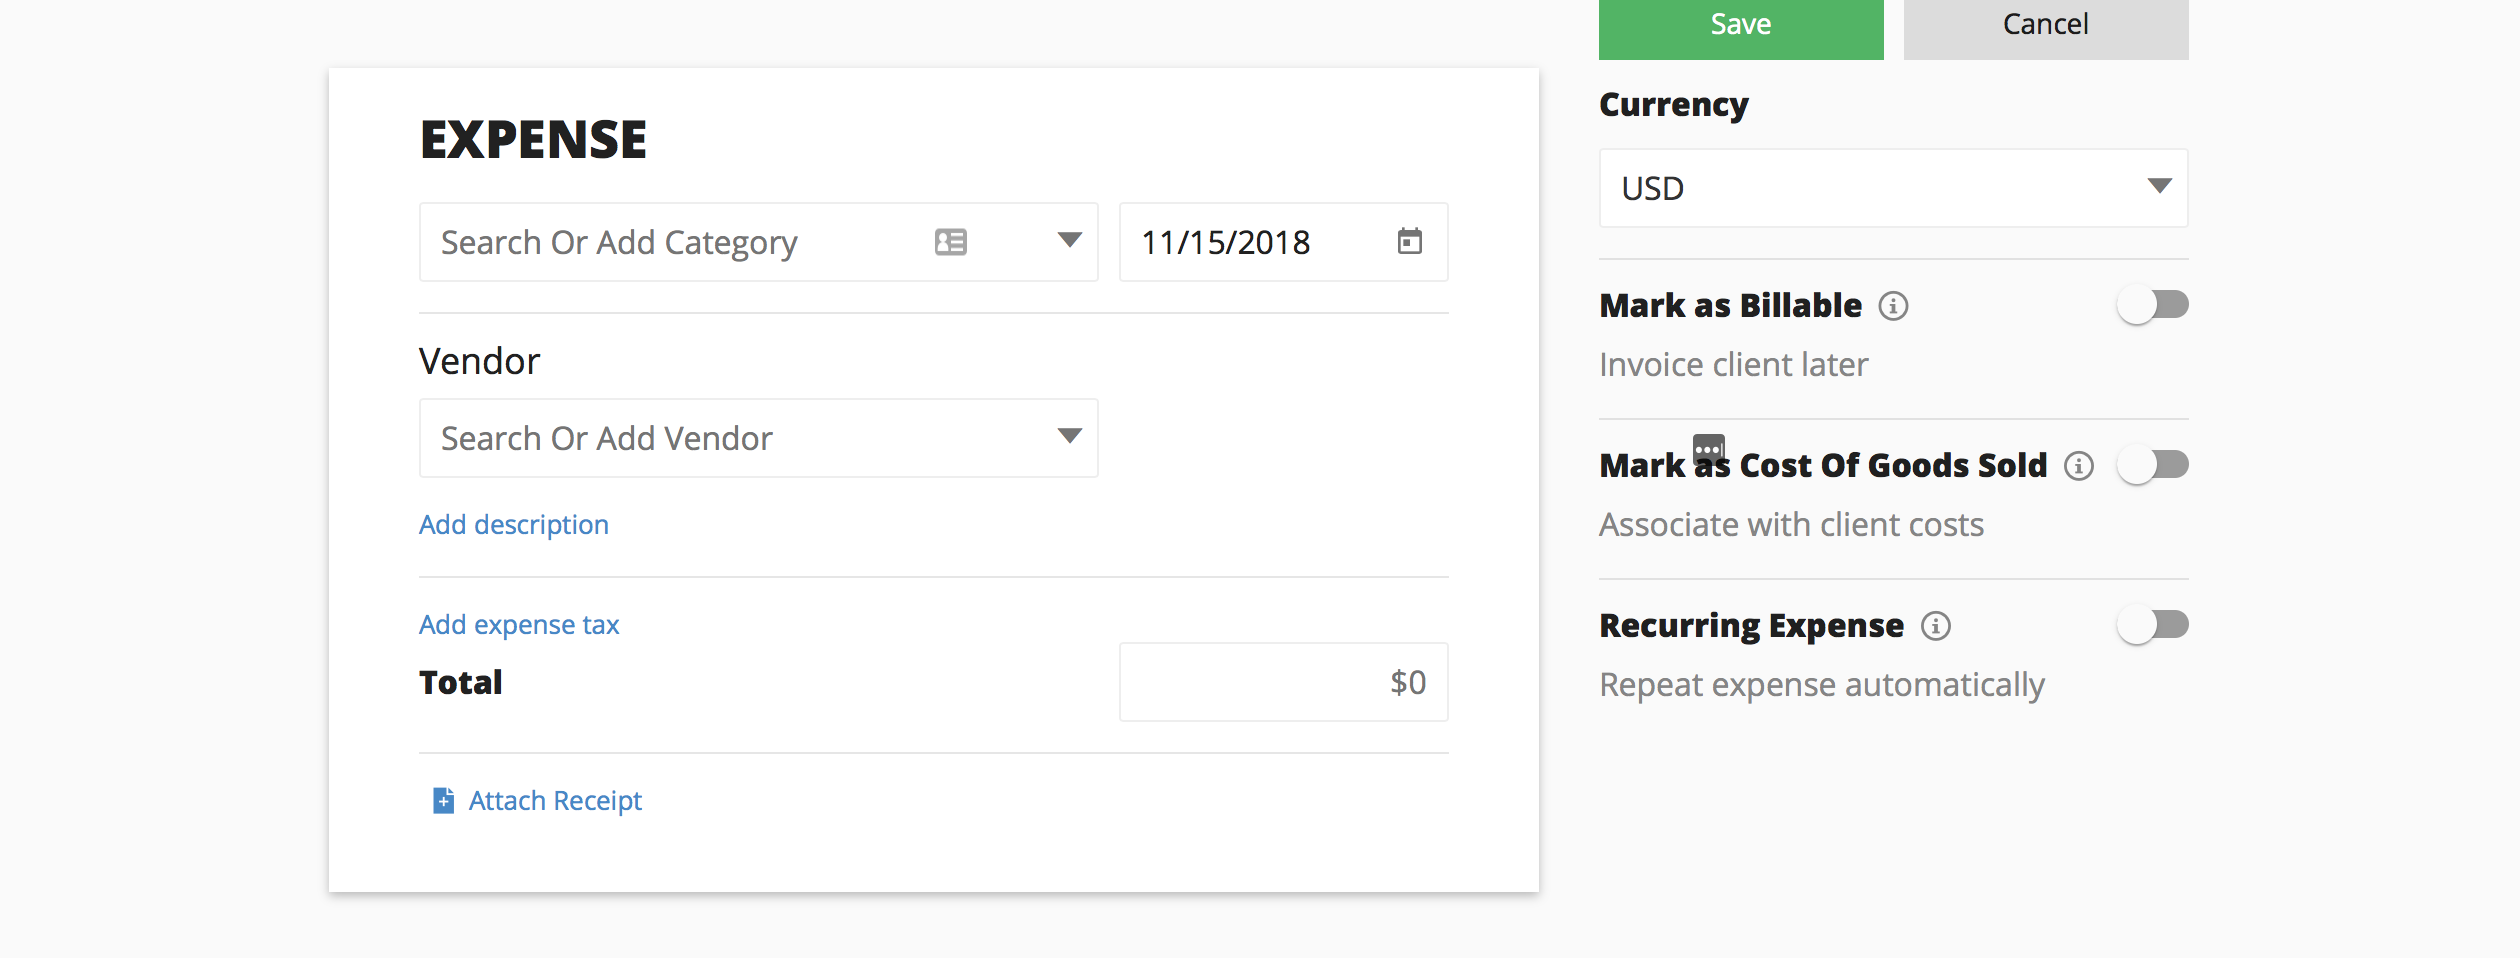
First, search for a category. If there is not one there that fits your expense, you can add it.
The next step is to put in the date of the expense, using the calendar format shown on the form. You should put the date from the receipt to be as accurate as possible for record-keeping and accounting purposes.
Then, you can search or add a vendor that is associated with that expense.
From there, you can add a description of the expense and a tax amount. After that, you can enter the total and attach a copy of the receipt for that expense.
Other ways you can further detail this expense is to select a currency type, such as U.S. dollars. Other options include marking it as billable so you can invoice a client later on or marking it as costs of goods sold, which would then associate the expense with a client cost.
Recurring Expense Option
Finally, you can choose to label it as a recurring expense, which means that Due will repeat the expense automatically.
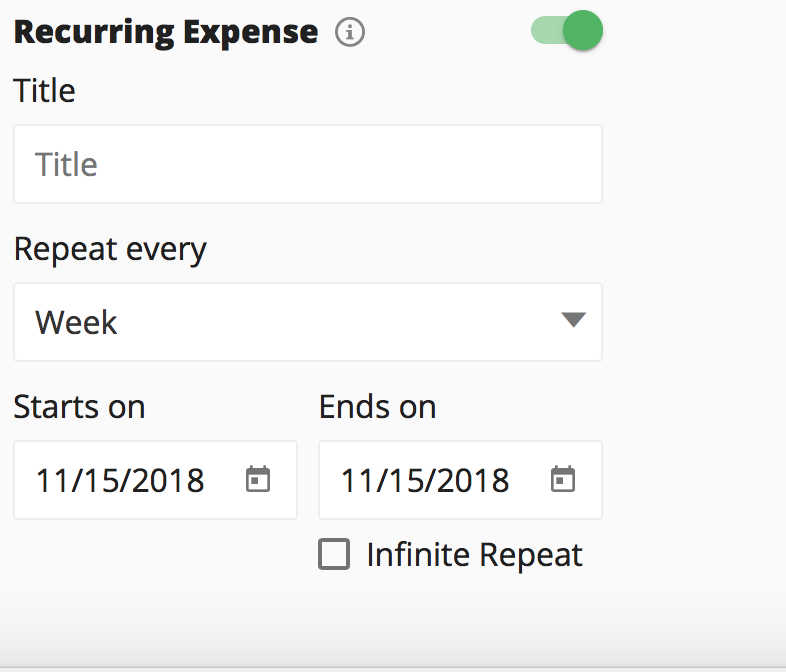
When you move your cursor across the button and to the right, which is next to where it says “Recurring Expense,” it will turn green.
Now, you can name the recurring expense by entering a title. Then, put in the frequency that expense will repeat as well as add a start and end date. If you don’t expect the recurring expense to end for a while, you can check the box that says “Infinite Repeat.”
When you are done entering all that information, click “Save” and it will close. From there, you can continue to create more benefits of recurring expenses until you are done.

