Part of managing your business expenses involves creating and managing expense categories. These categories help you with tax deductions and client invoicing.
This Due expense tutorial explains how you can organize and manage all of your expense categories through your mobile app or desktop account.
Sign-in
First, sign-in to your Due account online or through the mobile app to access the main menu. From here, you’ll be able to select “Expenses” from the drop-down menu.

Expense Menu and Expense Category Management
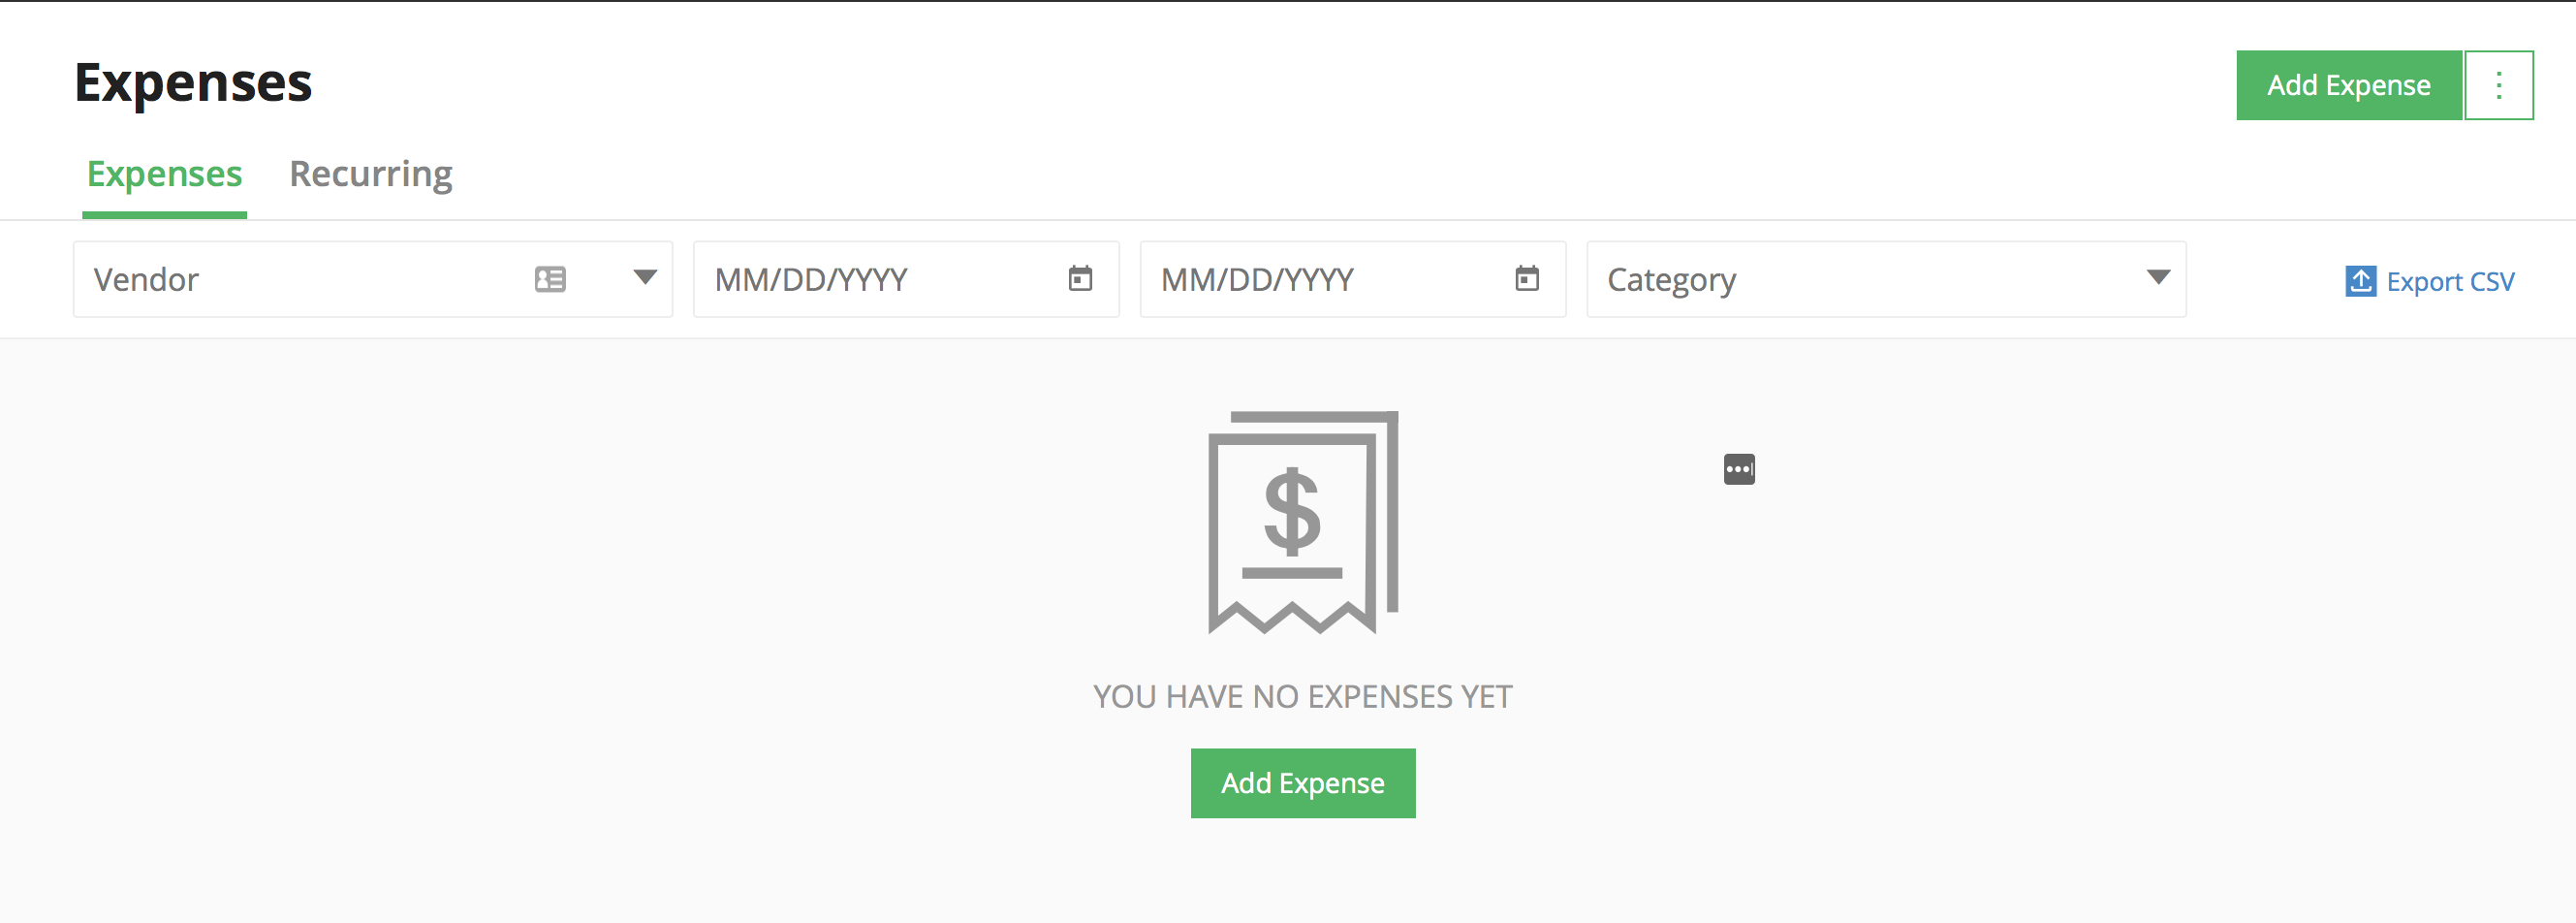
Once you select “Expenses,” you’ll see a screen that will show you all your expenses. This is where you can enter new expenses and view existing expenses as well as manage expense categories.

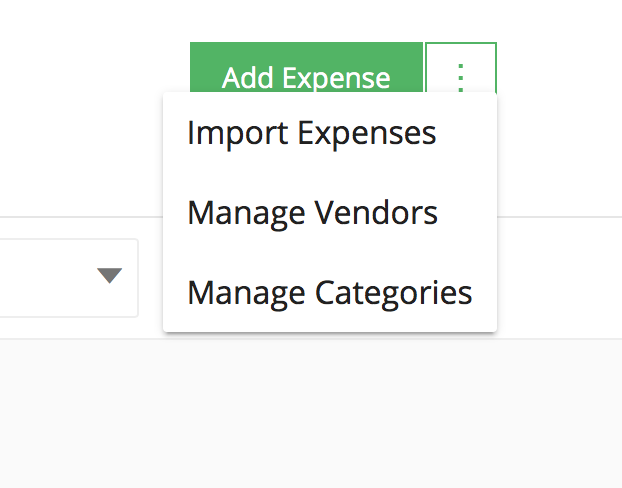
Now, it’s time to look at how you manage expense categories. On the top right of your screen, you will see a button that says “Add Expenses” with a white box and green dots to the right of it. Click on those dots.
When you click on the dots, it will reveal another drop-down menu. Click on “Manage Categories.”

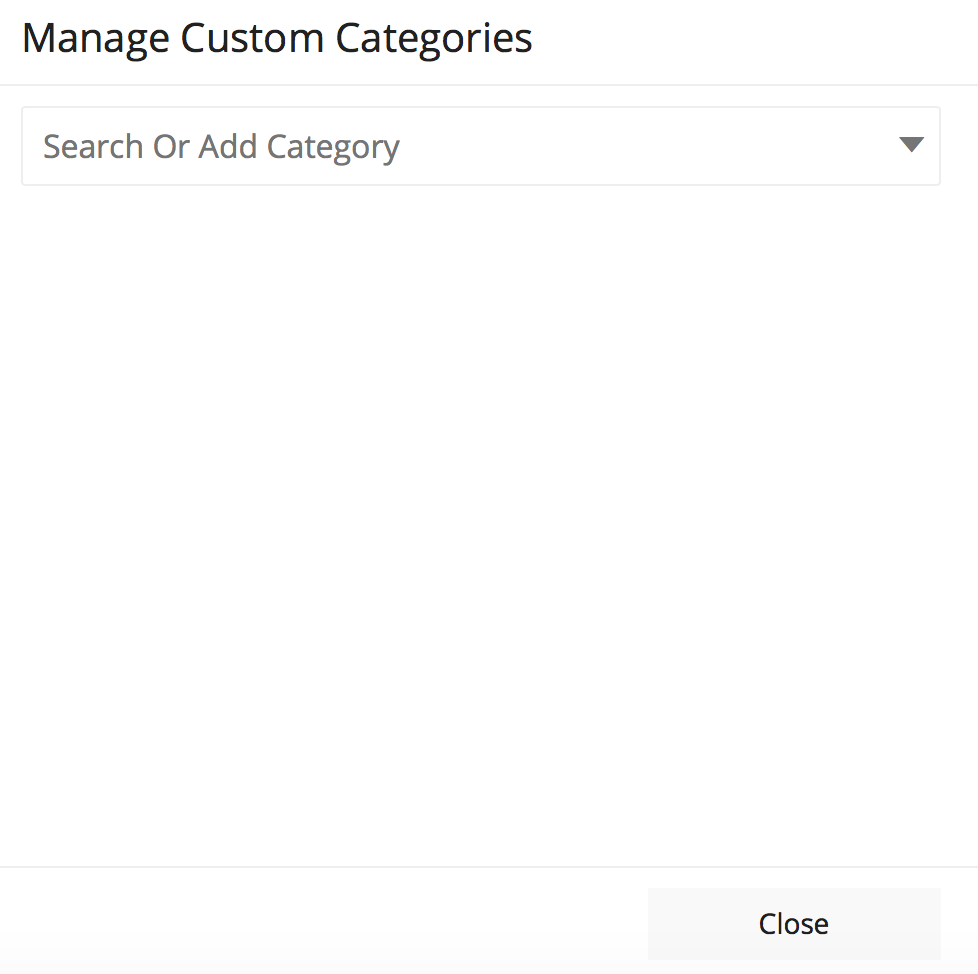
Once you do, the screen below will pop up with the next steps as shown below.

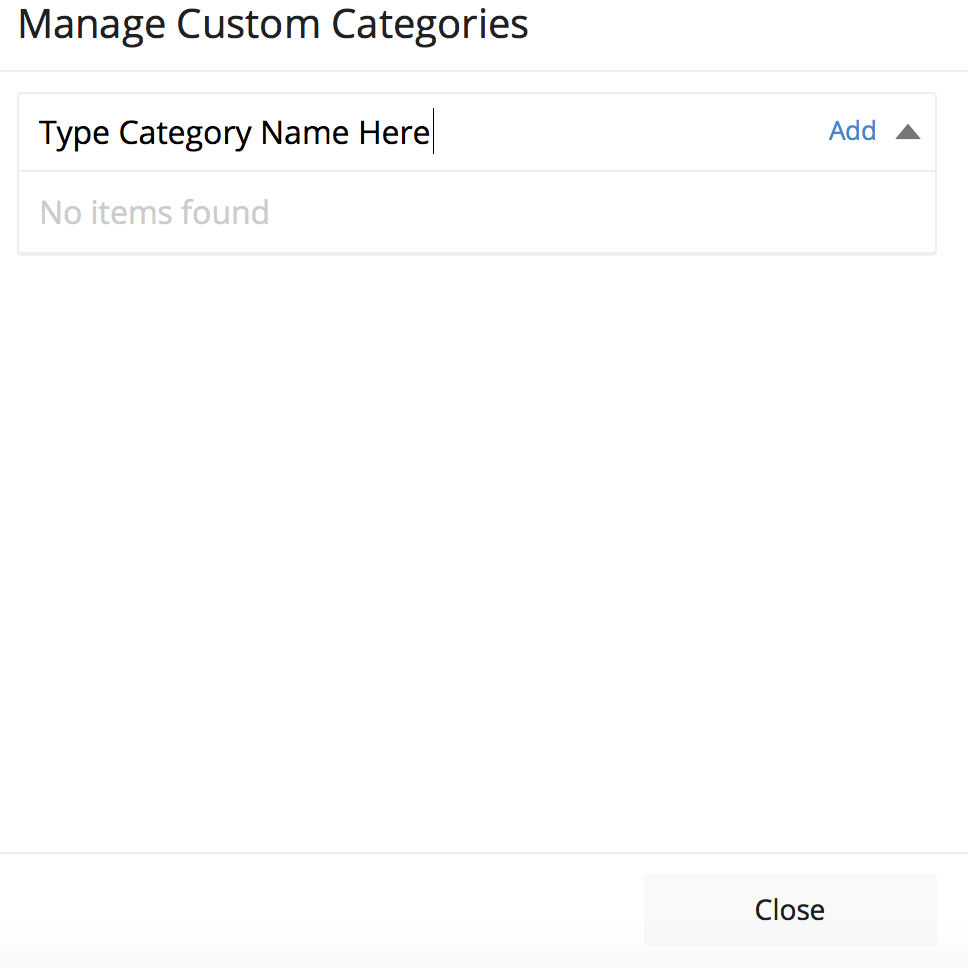
You can search existing expense categories that you have already added, or you can now add a new expense category. To add an expense category, type the category in the box and click on the “Add” link that appears on the right side of the box by the down arrow as shown below.

Once you type the expense category name and click “Add,” it will appear in a list below with dots on the other side of the category name. This is another menu that, when you click on it, shows either edit or delete.
This allows you to delete and start over or edit the expense category.
You can repeat this process for every expense category you need to add to your Due account.


